CONCORD, N.H. — I love carving jack-o’-lanterns, but after coming downstairs one fall morning to find that an overly ripe pumpkin had “bled” all over my dining room table and ruined it, the idea of decorating with fake gourds does
CONCORD, N.H. — I love carving jack-o’-lanterns, but after coming downstairs one fall morning to find that an overly ripe pumpkin had “bled” all over my dining room table and ruined it, the idea of decorating with fake gourds does have a certain appeal.
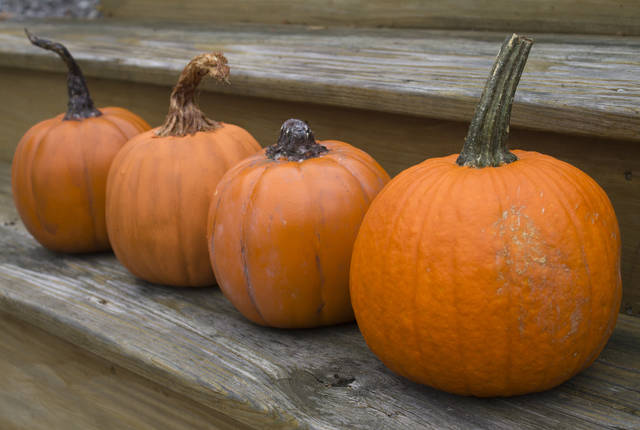
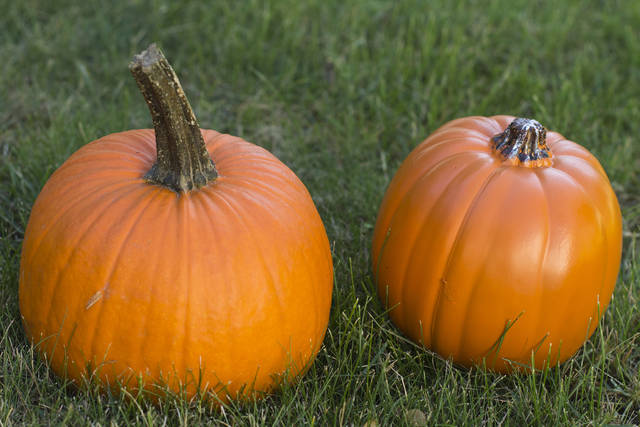
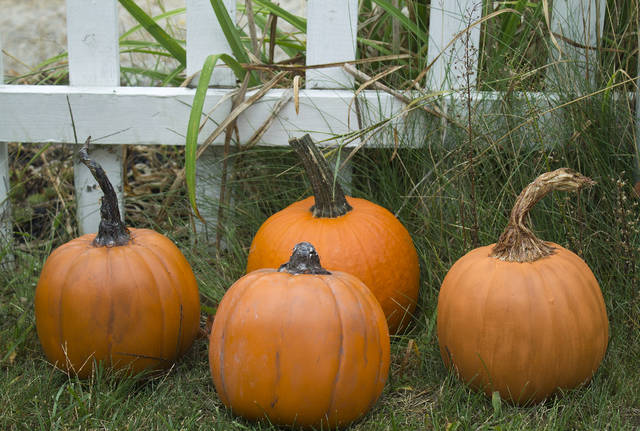
Foam craft pumpkins can be decent stand-ins for the real thing for autumn and Halloween decorating, but their uniformly bright orange color and squat plastic stems sometimes scream “fake.” With a bit of doctoring, however, they can be transformed into reasonably realistic-looking facsimiles that will last year after year. I found multiple online tutorials for improving the appearance of both the pumpkins and the stems, and I mixed and matched a few to test them out. While all were a big improvement over the originals, I’m not sure they would fool anyone who looks at them closely.
Here’s what I found, with each method rated from 1-10, with 10 indicating the least expensive, easiest and best results:
Cotton stem/paint
This combination was the least expensive of the three, and the pumpkin-painting portion was the easiest. The stem, however, was a challenge. I found a tutorial on the Simple Southern Charm Interiors blog that calls for using Mod Podge brand glue to adhere wisps of cotton to the stem, coating the cotton with glue, shaping the partially-dried result and then painting over the whole thing once it had dried. That proved to be difficult and messy, and I found myself ripping off the cotton and starting over after ending up with a lumpy mess. Once I was done, however, the result did resemble a dried stem, at least from a distance.
For the pumpkin, I followed instructions on a blog called Average But Inspired. Using brown acrylic craft paint, I painted the grooves of the pumpkin and then wiped it with a cloth to give the pumpkin a slightly aged look. While the instructions said to wait a few minutes before wiping, my paint dried really fast and I found that I had to wipe fairly quickly to avoid harsh lines. The tutorial also calls for using a bit of cream and green paint on various parts of the pumpkin to add shading.
Cost: 8
Ease: 5
Results: 7
Newspaper
stem/glaze
My second attempt involved two straight-forward techniques: creating a fake stem out of newspaper and masking tape, and brushing the pumpkin with a glaze made out of watered-down paint. If you already have masking tape on hand, this would be the cheapest option, too.
For the pumpkin, I followed a tutorial on a site called Diva of DIY, simply brushing on the glaze and then wiping it off with a piece of cheesecloth. I liked this technique because it was easy to build up the color by repeating the process, though there were a few spots where the glaze dried a bit too much before I wiped it off and left behind darker smudges.
For the stem, I turned to a blog called Domicile 37. The instructions call for fashioning a stem out of rolled-up newspaper, wrapping it in masking tape and then painting it. Making the stem was quick and easy — by far the fastest method of the three I tried. However, the result was the least realistic of the bunch.
Cost: 7
Ease: 7
Results: 5
Sisal stem/chalk paint
For my final project, I found instructions for improving both the pumpkin and stem on the same site, Anderson + Grant. This was the most expensive and labor-intensive method, and it required the most specialized products. The results, however, are impressive.
I had to go to a home improvement store to buy the sisal rope required for the stem, and it cost more than the pumpkin. The technique involves gluing bits of rope to the stem, coating it with Mod Podge, dusting it with ground cinnamon and then following up with another coat of glue. A bit messy and time-consuming, but not difficult to pull off.
The same was true for the pumpkin portion, though I bought pre-mixed chalk paint instead of mixing my own as the instructions call for because I couldn’t find plaster of Paris. I covered the pumpkin with three coats of paint and followed up with a dark brown wax that was brushed on and then rubbed off. The resulting color was muted compared to a real pumpkin. Using brighter orange paint might have made for a more realistic final product.
Cost: 4
Ease: 6
Results: 8


